Designing virtual garments can be a fun process, but when the goal is to build a portfolio for potential employers, it is essential to follow a clear and efficient path. This ensures the effective presentation of design sketches and ideas in a professional and cohesive manner with minimal effort.

Here are my 6 easy steps:
1. Market research is key
To begin, conduct marketing research and analyse current pant trends before diving into your design sketches. Adidas, Tommy Hilfiger, Nike and Hugo Boss have interesting relaxed sportswear styles I have been interested in taking a closer look.

2. Research and create desired style
Narrow down the silhouette you want to create. This will streamline your future process in Clo 3D when crafting patterns and ensuring an overall fit, starting with focused design sketches.

3. Research details: pockets and details
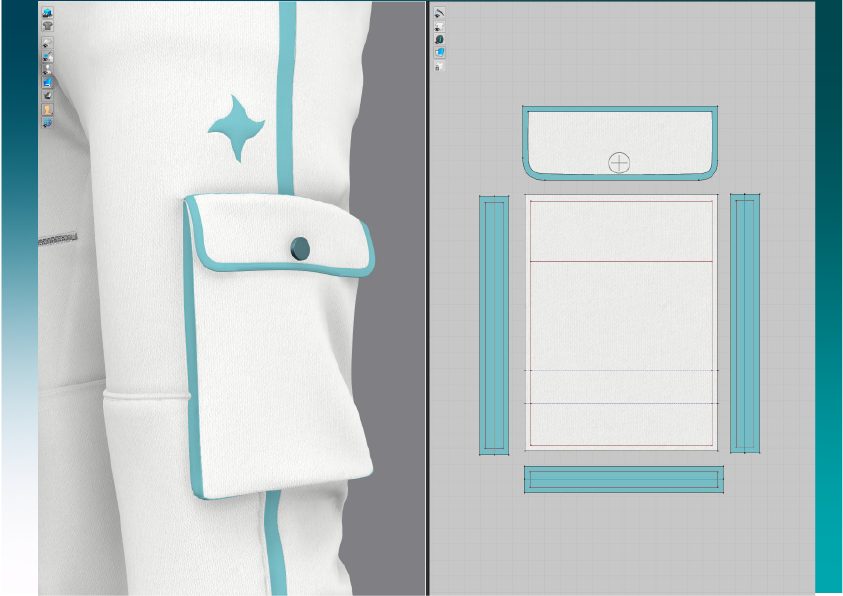
Dedicate a part of your research to examining details such as pockets and trims. You can include this in your rough design sketches. The attention to detail will contribute to a better understanding, enhancing the quality of your designs. As you progress, think about how these elements will integrate into the overall garment structure in Clo3D or desired program, laying a strong foundation for your 3D design process.

Tip: you can start creating your patterns or purchase a basic pattern to follow and manipulate in Clo 3D using clo-set.com.
I have started with the basic pant in Clo3D available on the default/basic style section of Clo.

4. Check the virtual fit
Assess the fit using Clo3D or desired 3D software used, checking the ‘strain map’ feature. This allows you to pinpoint areas of the garment that may be too tight or ill-fitting on your chosen avatar, ensuring a precise evaluation and making changes if you want to.
Including fit images, as demonstrated below, serves as a valuable indicator to potential employers of your proficiency and accuracy in crafting 3D models.

5. Check the overall style& details
At this point, review the overall style, check it against your design sketches and determine whether you want to make any changes or if you are satisfied with the overall look before proceeding to the rendering phase.
Check all details especially pockets and trims.
6. Create a mood board
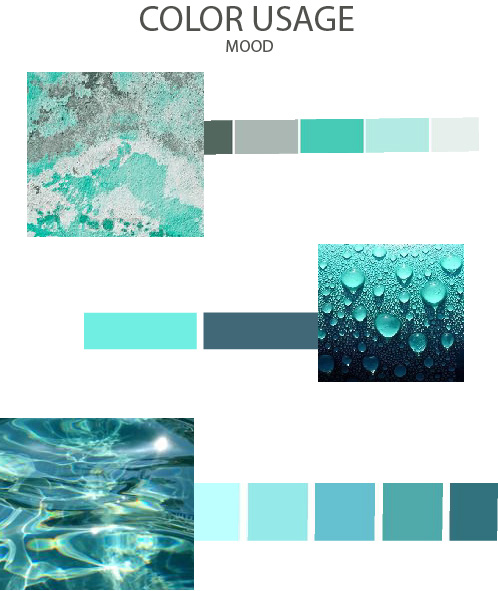
Consider the colorways for your design and craft a mood board to guide your decisions. This can be done at the beginning, middle or even towards the end of finishing up your 3D design model. Whether you do this at the beginning or the end, platforms such as Pinterest offer excellent inspiration. I usually use Pinterest for both inspiration and to craft my design sketches.
If you would like to dive in to and expand your knowledge about design and manufacturing check out my article HERE